
Starting your journey into the world of henna design can be exciting and rewarding. Whether you’re looking to create beautiful body art or explore a new artistic hobby, these practical tips will help you get started on the right foot. At K2Henna, we’re passionate about helping beginners master the art of henna. Here are our top 10 tips to set you up for success:
1. Choose Quality Henna Paste
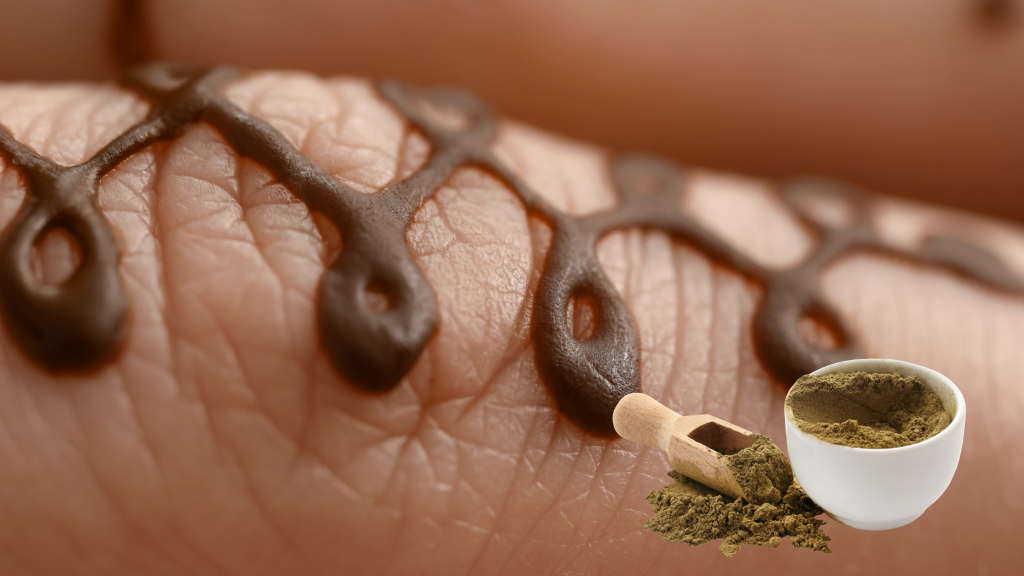
Quality is key when it comes to henna paste. Opt for natural, organic henna to ensure vibrant and long-lasting designs. Avoid products with synthetic dyes or chemicals, which can cause skin irritation and poor results.
2. Gather Essential Tools
To start designing, you’ll need a few basic tools:
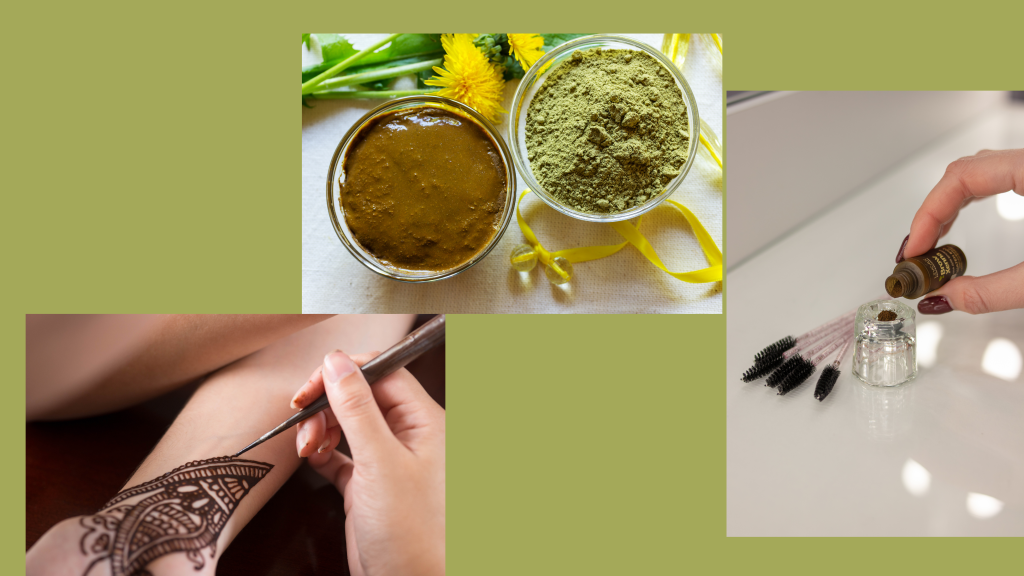
- Henna cones: Pre-filled cones are great for beginners.
- Applicator bottles with tips: These offer better control for detailed designs.
- Henna powder and mixing ingredients: If you prefer to mix your own paste.
3. Prep Your Skin Properly
Clean, exfoliate, and dry the area where you plan to apply henna. This helps the henna adhere better and results in a darker stain. Avoid applying lotion or oils before the application.
4. Practice Basic Patterns
Begin with simple shapes and patterns like dots, lines, and curves. These basic elements are the building blocks of more complex designs. Practicing these will help you gain control and confidence.
5. Use a Template or Stencil
Using a template or stencil can be incredibly helpful when you’re starting. They guide your hand and help you create symmetrical and balanced designs, easing the learning curve.
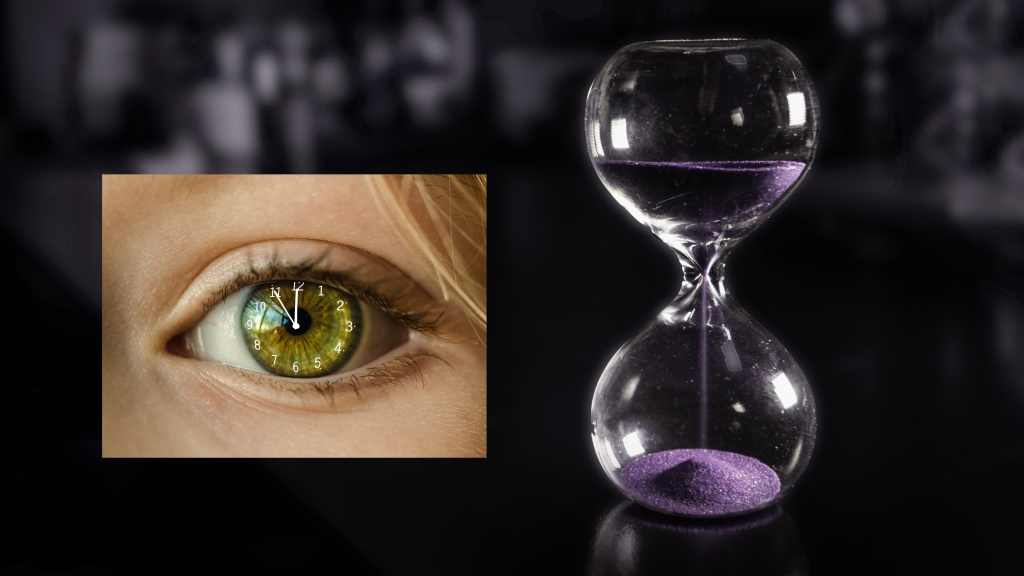
6. Understand Drying and Aftercare
Henna needs time to dry and set properly. Leave the paste on your skin for at least 4-6 hours, or overnight for a darker stain. Keep the paste moist by wrapping it with a protective covering or by applying a mixture of lemon juice and sugar.
7. Experiment with Different Styles
Explore various henna styles like Somali, Khaliji, Sudani, and Indian Mehndi. Each style has unique characteristics and techniques. Experimenting with different styles can enhance your skills and broaden your artistic repertoire.

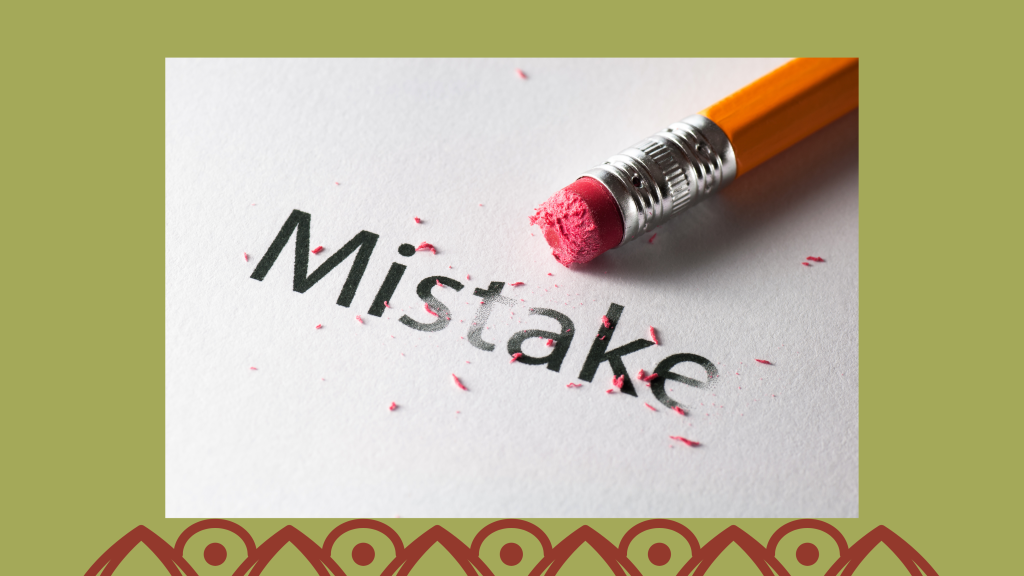
8. Learn from Mistakes
Making mistakes is part of the learning process. If you make an error, don’t be discouraged. Use it as an opportunity to improve. You can also correct small mistakes by gently scraping off the unwanted paste with a toothpick.
9. Seek Inspiration and Tutorials
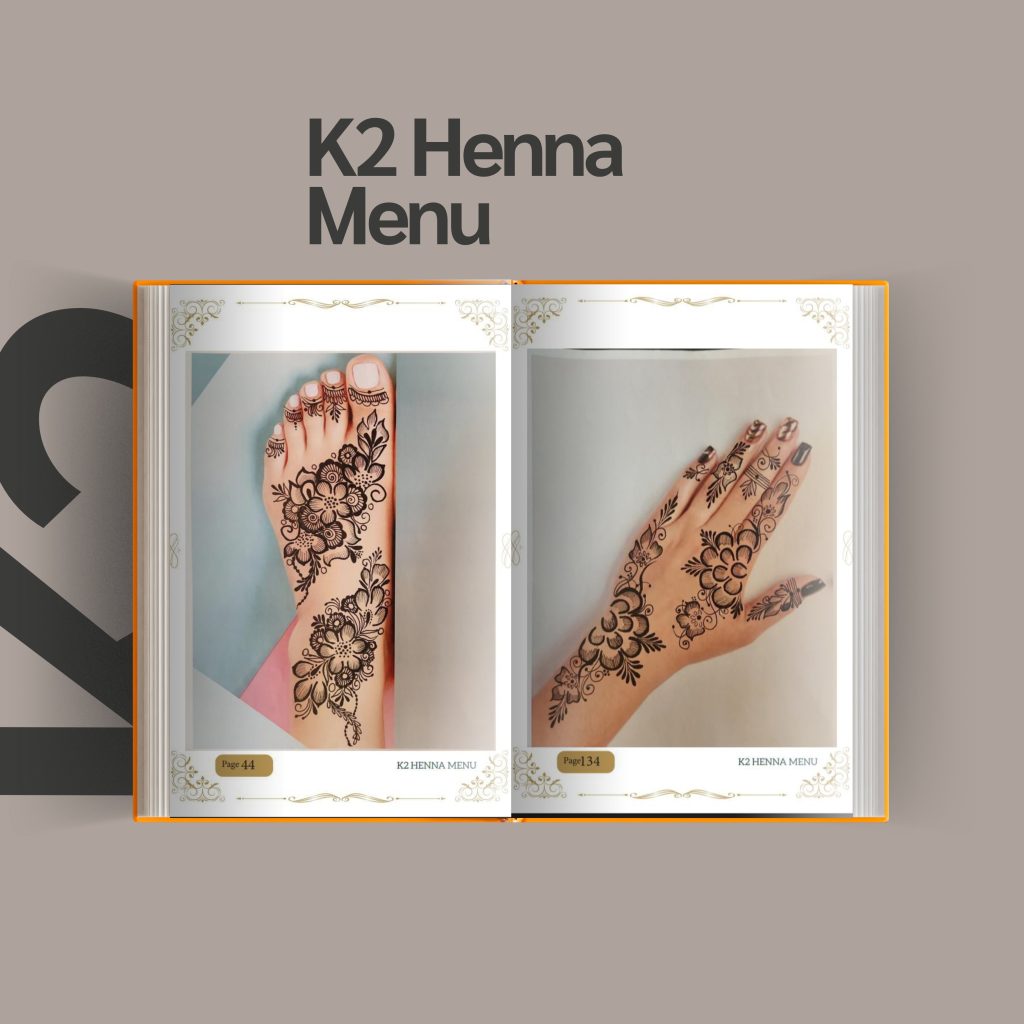
There’s a wealth of resources available to help you improve. Our book, ‘K2 Henna Menu,’ offers diverse designs and step-by-step guides suitable for both beginners and experienced artists. Additionally, online tutorials and henna communities can provide valuable insights and inspiration.
10. Be Patient and Persistent
Mastering henna design takes time and practice. Be patient with yourself and keep practicing regularly. Over time, your skills will improve, and you’ll be able to create more intricate and beautiful designs.
Conclusion
Embarking on your henna design journey is an exciting adventure. By following these tips and practicing consistently, you’ll develop your skills and create stunning henna art. At K2Henna, we’re here to support your artistic growth every step of the way. Happy designing!
Feel free to share your beginner henna designs with us at K2Henna! We’d love to see your progress and offer any additional tips or feedback.

This is very helpful